Secrets to a Flawless SeaDek Installation
posted by Ryan Sacksteder on Aug 15th 2025
Secrets to a Flawless SeaDek Installation
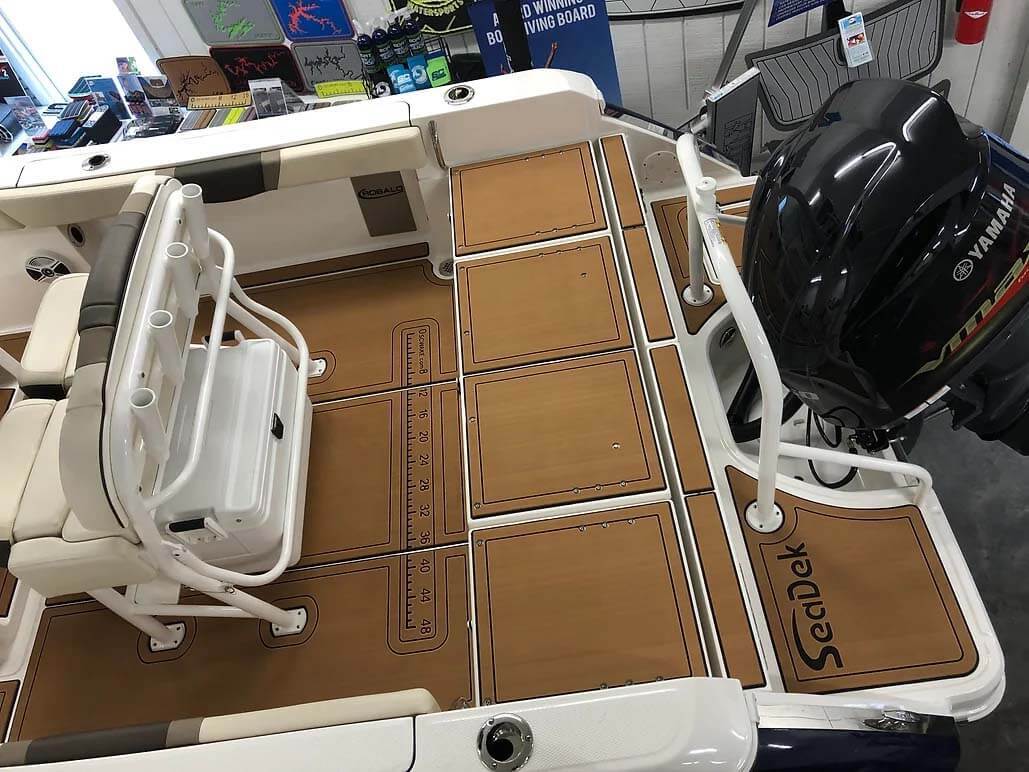
Some marine flooring can be tricky to fit, leading to frustrating results and uneven finishes. But SeaDek is different. It’s engineered for simplicity, precision, and that clean, professional look your boat deserves, regardless of your DIY skills.
Professional SeaDek installation combines superior slip resistance, DIY-friendly application, and impressive resale value when done correctly.
If you are taking on your first DIY SeaDek project, these insider secrets - brought to you courtesy of our qualified installers - will completely transform your installation from good to awe-inspiring.
Let's take a look at how to install SeaDek effortlessly and successfully. You might even enjoy the process - most people do, and it shouldn't take too long, either.
|
Did You Know? SeaDek's PSA backing bonds in under 24 hours at 50-100°F, creating a permanent waterproof seal that lasts for years! |
Why SeaDek?
Before looking at our SeaDek installation instructions, let's quickly address why our product has become so popular for marine decking:
- Heat-blocking technology: SeaDek stays significantly cooler than traditional non-skid surfaces, even in direct sunlight
- Easy wash-down maintenance: Unlike carpet that traps salt, fish blood, and odors, SeaDek cleans with simple soap and water
- Custom appearance options: From faux teak patterns to bold colors, your boat becomes uniquely yours
- Noise-dampening properties: Reduces sound transmission that can spook fish during early morning fishing trips
- Superior traction: Maintains grip even when soaking wet, protecting family and guests from dangerous slips
The transformation speaks for itself. Where traditional surfaces fail within a few seasons, SeaDek flooring installation maintains its appearance and performance for 5-7+ years.
➡️Ready to upgrade? Order custom-cut SeaDek from SC Wake and skip the measuring headaches.
Tools & Materials Checklist
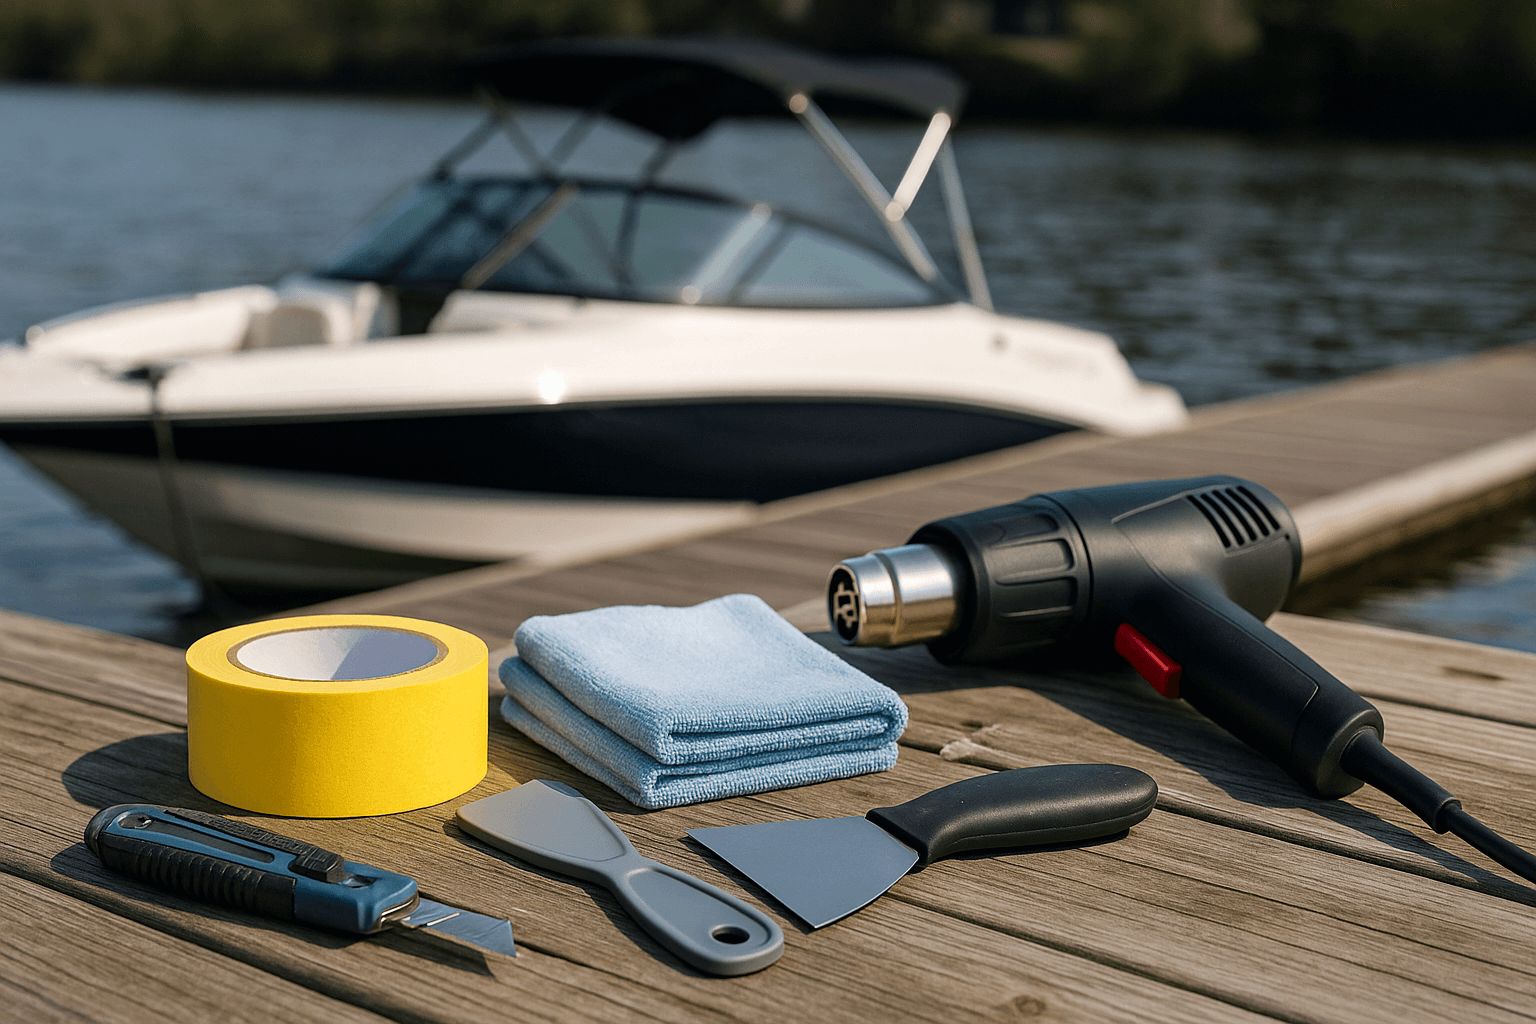
As is often the case, installing SeaDek flooring successfully commences with proper preparation. Here's your complete toolkit for professional-quality SeaDek installation:
|
Item |
Why It Matters |
Pro Tip |
|
Sharp razor knife |
Clean cuts prevent fraying |
Replace blade every 2-3 sheets |
|
99% isopropyl alcohol |
Final wipe-down removes all residue |
Better than acetone for final clean |
|
Masking tape |
Prevents shifting during installation |
Use marine-grade for best adhesion |
|
Plastic putty knife |
Smooth application without damage |
Avoid metal tools that can scratch |
|
Heat gun |
Helps conform around curves |
Keep moving to prevent scorching |
|
Laminate roller |
Ensures complete adhesion |
15 lbs pressure = optimal bond |
|
Clean microfiber cloths |
Lint-free surface preparation |
Have extras for multi-step cleaning |
Our professional SeaDek installation team swears by having backup supplies on hand. Running out of alcohol mid-installation means waiting for surfaces to dry before restarting.
Our certified SeaDek installers also keep spare razor blades. Remember, dull blades create ragged cuts that reflect amateur work!
Also, temperature matters more than most people realize. With that in mind, keep your tools and materials at ambient temperature before starting. Cold adhesive doesn't flow properly, while overheated materials can become extremely difficult to handle.
|
Pro Installer Secret: Work in sections no larger than you can complete in 30 minutes. SeaDek's pressure-sensitive adhesive gives you some working time, but don't push your luck. Large installations should be planned as multiple sessions rather than marathon efforts that lead to mistakes. |
Prep Work: Clean, Dry, Plan
Remember the old carpenter's rule: "measure twice, cut once"? For SeaDek boat flooring installation, we like to say "clean twice, install once." Ultimately, good surface preparation determines whether your installation lasts two years or twenty.
Critical Conditions
Again, your installation environment matters more than you might think:
- Surface temperature: 60-85°F for optimal adhesive performance
- Acclimation period: Store SeaDek pads indoors 24 hours before installation
- Weather conditions: Avoid high humidity or impending rain
The Three-Step Cleaning Sequence
Our standard, professional SeaDek installation instructions emphasize this exact order:
- Degreaser application: Remove built-up oils, sunscreen, and wax
- Acetone wipe: Dissolves stubborn residues and contaminants
- Isopropyl alcohol final pass: Ensures a completely clean surface
- Air dry 30 minutes: Essential for proper adhesive activation
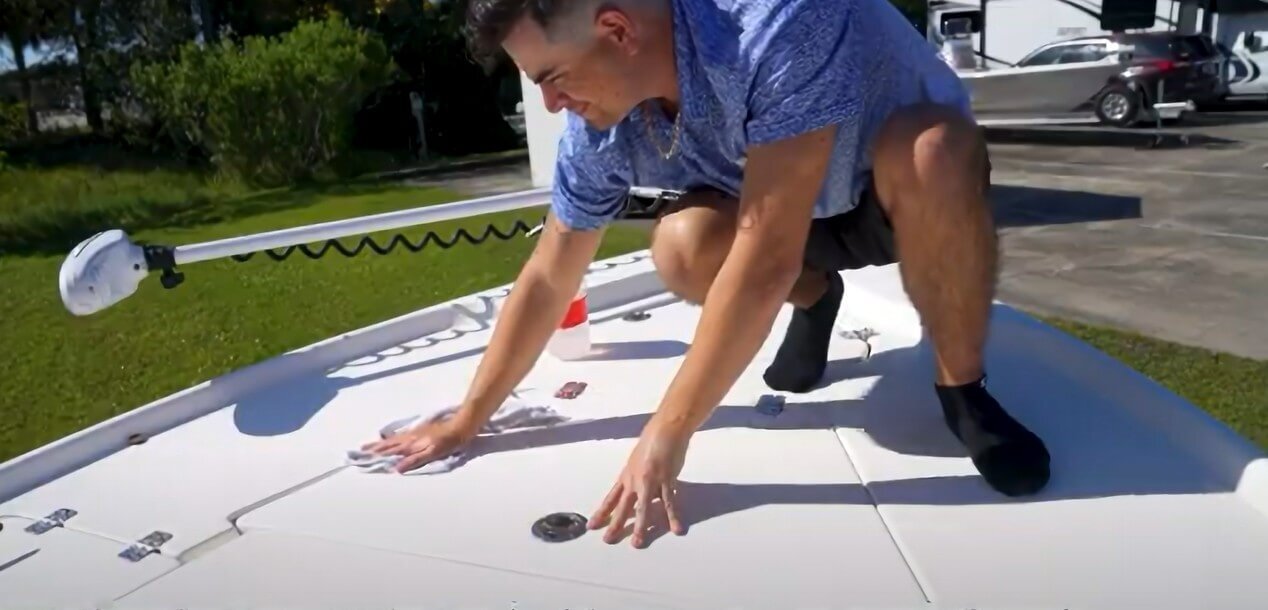
Skip any step and you risk edge lifting, bubbles, or complete adhesive failure. The extra 20 minutes spent on prep work prevents hours of troubleshooting later!
Step-by-Step SeaDek Installation
Follow these numbered steps exactly for a professional-looking SeaDek boat flooring installation every time:
1. Dry-Fit & Outline
Position every pad exactly where it belongs before removing any backing. Use a pencil to mark reference points (this becomes your roadmap, so to speak, during installation).
Check that pattern alignment flows naturally from piece to piece. For faux teak patterns, those lines need to continue seamlessly across joints. Nothing speaks to a poor SeaDek self-install like pattern lines that don't match up!
|
Template Positioning Tip: Use the templating technique from SC Wake's DIY Learning Center. Take photos of your dry-fit arrangement before removing any pieces. These photos become invaluable reference guides during actual installation, especially for complex multi-piece layouts. |
Mark orientation clearly on each piece. Use arrows pointing toward the bow, and number pieces in installation order. This prevents the confusion that leads to accidentally flipped or rotated pieces.
2. Backer-Split Technique
We have another handy pro secret for you: cut your PSA liner on the workbench, not on the boat. Turn the pad face down and carefully slice the backing from the center to the edges. This prevents accidental cuts into the SeaDek material.
Create a center "tab" that lets you peel back sections gradually rather than fighting with full-size backing sheets in tight spaces.
3. Centre-to-Edge Bonding
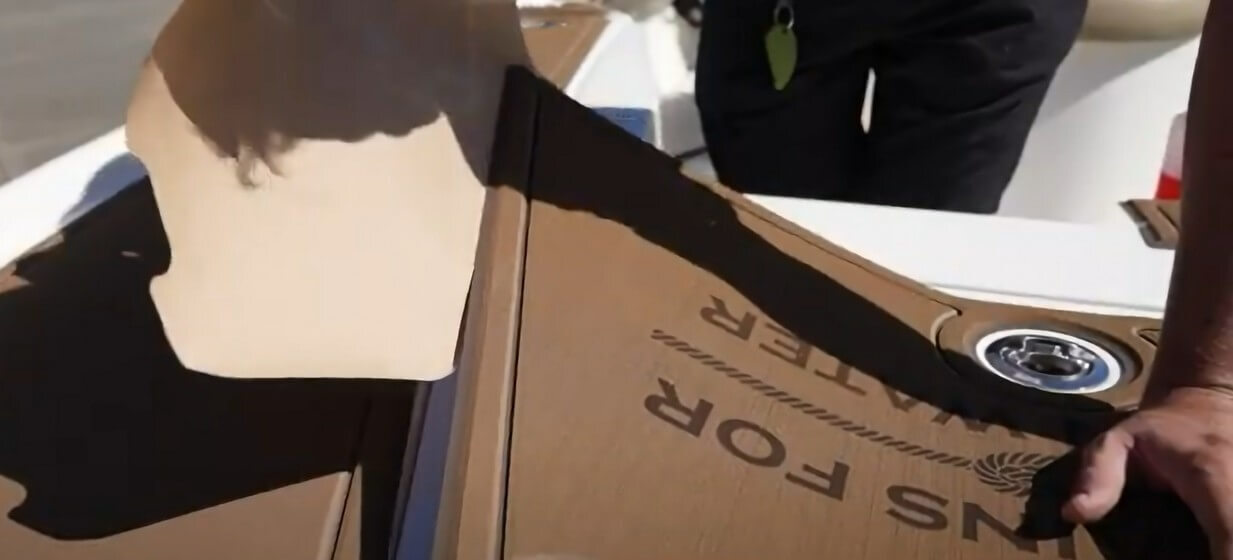
This SeaDek installation technique distinguishes amateur installations from professional jobs. Peel back just 2-3 inches of backing, set one corner precisely, and then unroll from the center outward. Simple but effective.
Never stretch or pull the material to make it fit. If it doesn't lie flat naturally, your measurements need adjustment!
4. Edge Sealing & Pressure Pass
Walk the entire pad with a laminate roller, applying firm pressure. The industry standard for DIY SeaDek installation is 15 pounds of applied pressure for full bond activation.
Pay special attention to edges and transitions, though. These areas experience the most stress and are where failures usually begin.
5. Cure Time Protocol
While it’s tempting to admire your work immediately, resist! That means no foot traffic for a minimum of 4 hours, with full cure requiring 24 hours. Early traffic can create permanent impressions or cause edge lifting.
Installing SeaDek on Aluminum Boat Surfaces
Aluminum decks require special consideration for permanent adhesion. The smooth, non-porous surface needs extra preparation steps.
Aluminum Installation Process
When it comes to SeakDek installation on aluminum boats, surface preparation is incredibly important - even more so than usual. To that end, bear in mind these pointers:
- Lightly scuff with a 3M maroon pad to create a mechanical bond
- Clean thoroughly with acetone
- Apply 3M™ Primer 94 in a thin, even coat
- Allow primer to cure 15-30 minutes before SeaDek application
The idea is that the primer creates a chemical bridge between aluminum and adhesive, preventing the seasonal expansion/contraction that can cause lifting. Aluminum boats present unique challenges because the metal expands and contracts significantly with temperature changes.
|
Pontoon Boat Considerations: The large, flat surfaces on pontoon boats make them ideal for DIY SeaDek installation, but those same large areas require extra attention to prevent bubbles. Work systematically across the surface, never allowing more than a 12-inch section to remain unbonded during installation. |
Standard marine-grade primer isn't the best option for aluminum surfaces - be sure to look for the 3M™ Primer 94 - you might consider it insurance of sorts. The small cost of primer prevents expensive do-overs when adhesive fails after the first season.
Possible Mistakes to Avoid
Learn from others' mistakes rather than making your own:
❌ Cold-weather installs → Adhesive crystallizes and never fully bonds
✅ Wait for temperatures above 60°F
❌ Stretching pads to "force" a fit → Edges lift within months
✅ Trim material to fit properly instead
❌ Skipping acetone cleaning → Oil film ruins adhesive bond
✅ Follow the complete cleaning sequence every time
Please be aware that these are more than mere suggestions; they are essential requirements for installations that last many years!
After-Care & Cleaning
Your first cleaning sets the general standard for years of performance. Always wait 48 hours after installation before any washing.
Approved Cleaning Methods
- Regular maintenance: Mild soap and a soft brush
- Deep cleaning: 1 cup bleach per 5 gallons of water
- Stain removal: SC Wake Boat Juice for stubborn marks
Avoid these cleaners:
- Acid-based hull cleaners
- Petroleum-based solvents
- Abrasive scrubbing pads
➡️For the best results, grab a bottle of SC Wake Boat Juice and keep your boat looking fresh without risking surface damage.
Troubleshooting & Repairs
Even perfect SeaDek installations occasionally need minor adjustments. Let's take a look at a few possibilities:
Air Bubbles
Pierce with a fine needle, warm the pad in sunlight, and re-roll with firm pressure. Small bubbles often work themselves out during the curing period.
Lifting Corners
Heat the gun to 110°F, inject marine-grade cyanoacrylate under the lifted edge, and clamp for 30 minutes. Remember, prevention beats repair every time!
Stains
Scrub with a soft-bristle brush for stubborn marks. Test cleaning products in inconspicuous areas first.
Most problems trace back to preparation shortcuts. When in doubt, start over rather than fighting poor prep work.
The Perfect SeaDek Installation Formula
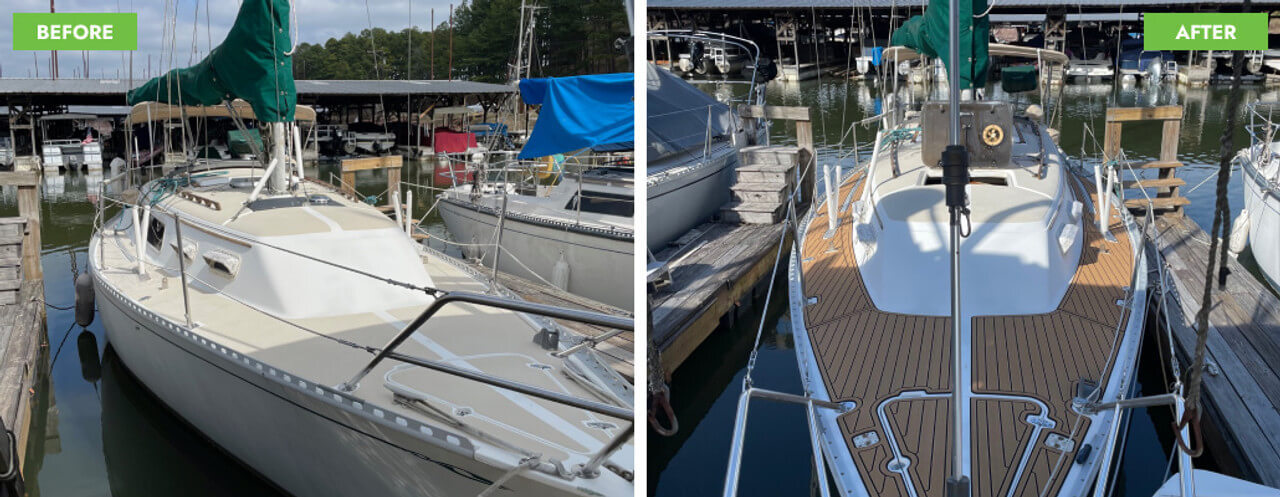
Flawless SeaDek installation follows this simple formula: thorough preparation, proper technique, and patience during cure time = professional results that last.
The difference between good and great isn't the tools you use; it's the time you invest in doing each step correctly.
➡️Ready to utterly transform your boat into something instantly more remarkable? Design and order your custom SeaDek kit now and experience the SC Wake difference!
Frequently Asked Questions
How is SeaDek installed?
SeaDek installs with pressure-sensitive adhesive backing. Clean the surface thoroughly, position the material, and gradually remove the backing while applying pressure from the center outward.
Can I self-install SeaDek on a jet-ski?
Jet-ski installations follow the same principles but often require more detailed trimming around curves and hardware.
Will it stick to non-skid surfaces?
Yes, DIY SeaDek installation is designed to adhere well to properly cleaned molded non-skid and maintained aggregate-type non-skid paints.
How long does SeaDek installation take?
Plan 2-4 hours for a typical cockpit installation, plus cure time. Rushing leads to mistakes that take longer to fix than doing it right initially.
What's included in a professional SeaDek installation?
Professional SeaDek boat flooring installation includes templating, precision cutting, surface preparation, installation, and typically a warranty on both materials and workmanship.
How long before I can use my boat?
Wait 24 hours before normal use, though light foot traffic is acceptable after 4 hours. The adhesive continues curing for several days, reaching maximum bond strength after one week.
Can I install SeaDek over existing non-skid?
Yes, SeaDek bonds well to clean, properly maintained, and molded non-skid. However, heavily textured or damaged non-skid may require light sanding for optimal adhesion. Always test a small area first.
Can I remove and reposition a SeaDek pad during installation?
You get a short window for adjustment, but it's limited. If a pad misaligns badly, it's best to discard and replace. Trying to re-stick a lifted pad often leads to poor adhesion and premature failure.
What if my SeaDek overlaps a hatch or drain?
Always trim around hatches and drains during dry-fit. Never install over functional openings. Use a sharp razor knife for clean cuts, and test afterward to ensure everything opens and drains properly without interference.
Does SeaDek work in extreme heat or cold?
Yes, but it's all about preparation. Install between 60–85°F for best results. SeaDek performs well once bonded, but improper installation in extreme temperatures can affect long-term adhesion and fit, especially on aluminum or metal surfaces.

