
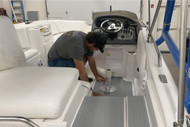
Essential Tools for Installing SeaDek Like a Pro
posted by Erica Fisk on Jul 15th 2026
After receiving your custom SeaDek kit, you may find yourself staring at precision-cut foam pieces, wondering how installation looks so effortless for many people. You needn't worry. SeaDek is really quite simple to install, and with the right tools, it's almost (but not quite) child's play.
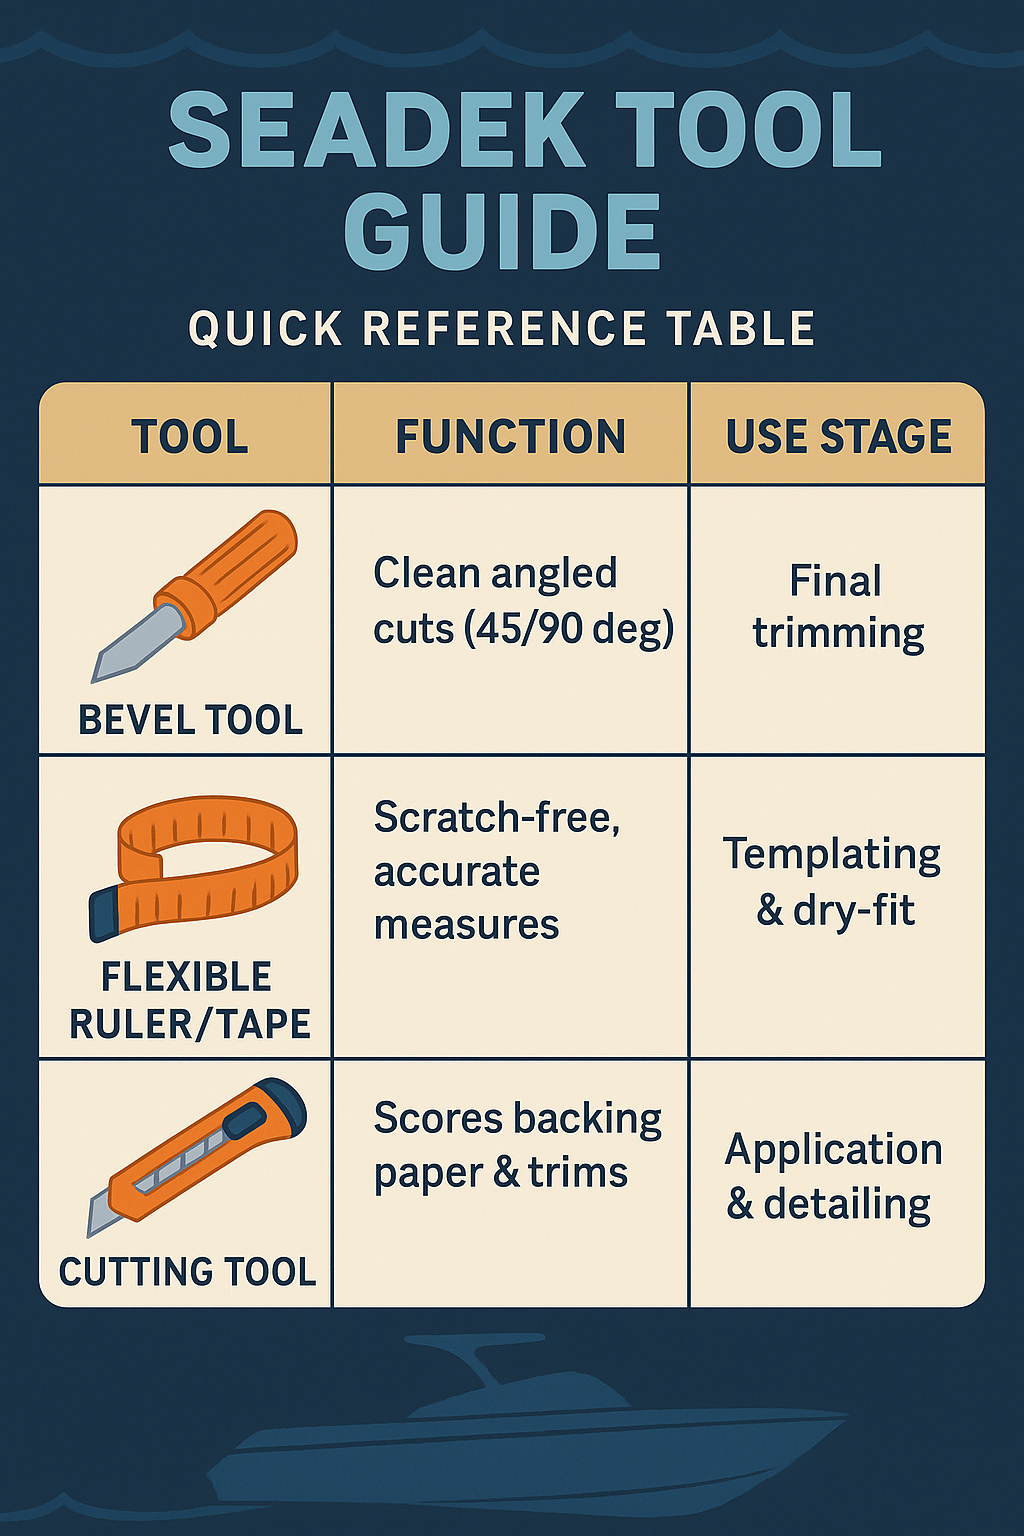
While having specialized tools is not essential, it certainly helps to have them around. When installing SeaDek, a bevel tool, measuring tape, and cutting tool are your essentials. Without them, the installation won't be as plain sailing as it would be with them (pun intended).
SeaDek Tools Explained
SeaDek's peel-and-stick design makes installation more approachable than traditional marine flooring, yet precision is still a prime factor. Ultimately, the adhesive backing doesn't forgive sloppy cuts or misaligned edges.
Professional installers rely on purpose-built tools because they understand something most boat owners learn the hard way: poor quality, generic hardware store tools simply aren't built for EVA foam's unique properties.
Mastering these three core tools transforms what could be a slightly frustrating project into a smooth, enjoyable process that delivers results worth showing off to other boaters.
Why the Right Tools Matter for SeaDek Success
That kitchen knife you planned to use for trimming will tear the foam's cellular structure, leaving ragged edges that collect dirt and compromise the professional appearance you're after. The steel measuring tape from your garage will scratch the delicate surface and slide around when you need precision most.
The point we are making here is that generic tools create generic results.
Professional SeaDek installation crews report dramatically different success rates when comparing cheap alternatives to purpose-built tools. The reasons are perfectly logical. Clean cuts, for example, will maintain the foam's structural integrity, while accurate measurements prevent costly material waste.
When properly equipped and prepared, the SeaDek installation process can usually be completed within a couple of hours. Compare that to the all-day struggles most boat owners face with inadequate tools, and the time savings alone justify the investment. These tools are not expensive, by any stretch of the imagination.
The Core SeaDek Tool Kit
Let’s break down the three core tools that will set you up for a smooth, hassle-free installation, considering why each one is worth having on board before you start the job..
Bevel Tool for cutting SeaDek
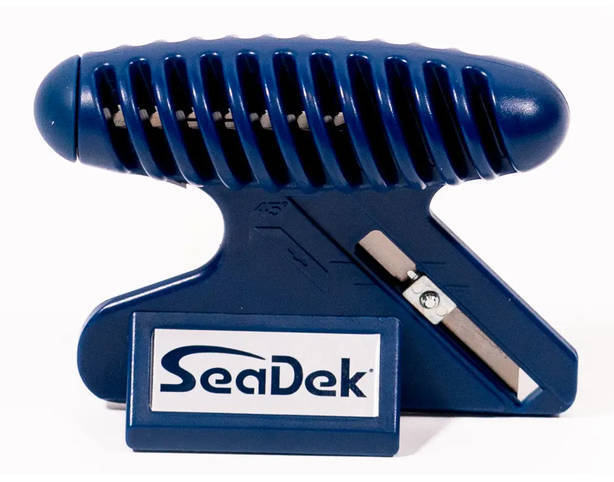
When installing SeaDek, a bevel tool is needed for clean, professional looking edges. It’s used to cut 45- or 90-degree angles on the foam edges, particularly on perimeter pieces. This helps create smooth transitions, avoiding those harsh right-angle edges that can lift or catch over time.
Some pro bevel tools offer adjustable depth settings, and a few include onboard blade storage, which helps when you’re working around the boat and don’t want to keep hunting for spares. But don’t worry about buying something fancy: what matters most is consistency. You want a tool that allows you to guide the blade at a uniform angle every time.
Beveling Tips:
- Use after all panels are dry-fitted and installed.
- Always cut away from the deck, not toward it.
- Practice on an offcut before going live.
- If you’re trimming a piece near a hatch or curve, hold the blade perpendicular to maintain edge strength.
|
Pro Tip: Start slow; EVA foam is forgiving but reacts poorly to rushing |
Measuring Tools (Flexible Ruler, Fabric Tape, Masking Lines)
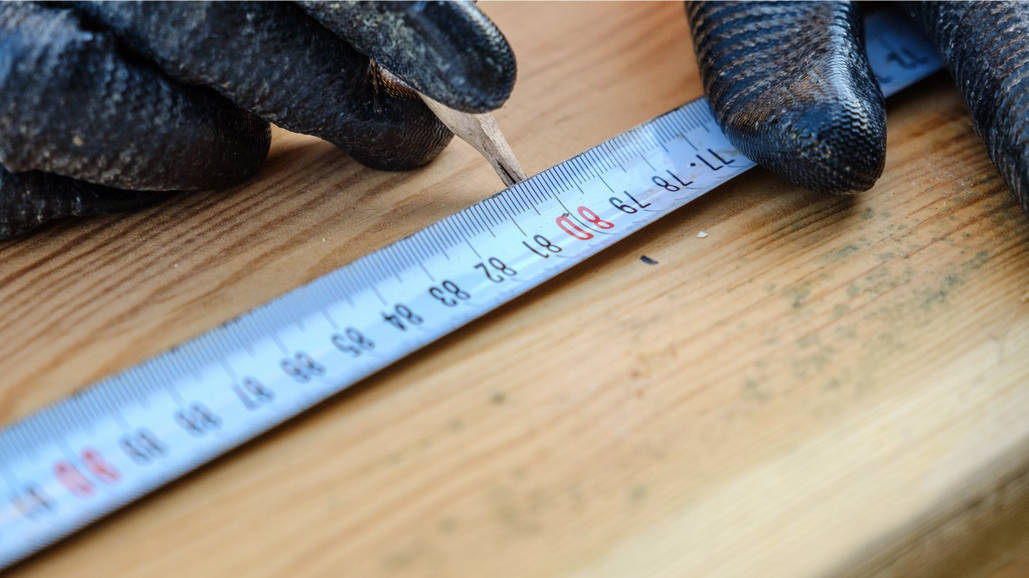
Obviously, accuracy is important when installing SeaDek. Instead of using a standard steel tape (which can leave scratches or move around mid-measurement), use something softer: flexible rulers, fabric tape, or adhesive-backed rulers.
These won’t slide, they won’t scratch, and they give you more control over curves and tight contours. Use masking tape on your deck to create layout lines and mark center points. It’s a small habit that helps avoid big layout errors.
Pro Measuring Habits:
- Mark everything on masking tape (not on the foam).
- Always double-check symmetry. Uneven installs are rarely due to the pad (they’re usually due to off-center measuring).
- For boats with curves or odd shapes, use a flexible contour gauge to measure edges and transfer shapes.
- Measure in both directions (bow to stern and port to starboard), especially for large panels.
-
SeaDek Cutting Tool
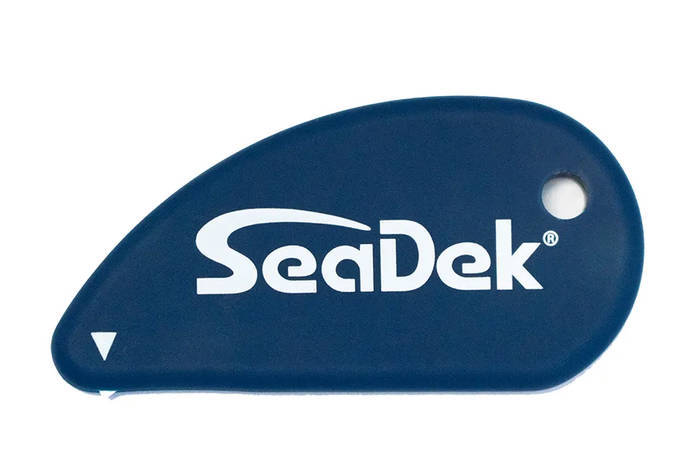
When installing SeaDek, a cutting tool is essential when slicing backing paper or making on-the-spot adjustments. A basic razor knife or utility knife with a new blade will do the trick.
The cutting tool is especially useful when scoring the adhesive paper. Rather than peel the entire pad at once, you can cut a centerline into the paper backing and peel in sections, which is ideal for managing large pieces solo.
Safety & Accuracy:
- Change blades every 10–15 feet of cutting to avoid frays.
- Keep a magnetic tray or cup nearby for used blades.
- Never cut directly on your deck—use a cutting mat or cardboard when trimming pads.
- Always retract or cap your knife when not in use, especially near finished pads.
- Store your cutting tool somewhere clean and dry—it’ll gum up quickly if left exposed.
General Boat-Prep Essentials
In terms of preparation, SeaDek sticks very well indeed, but only to surfaces that are clean, dry, and properly addressed. Let's take a look at what you need to achieve that:
Tools and Materials:
- Sharpie marker: For tracing and annotating templates.
- Masking tape: This is used to mark layouts and hold parts in place.
- Scissors: To cut masking tape, templates, or vinyl film.
- Clear vinyl/Mylar film: This is for templating if you're custom-fitting.
- Boat Information Sheet: To keep track of pad placement.
- Isopropyl alcohol or acetone: For thorough cleaning.
- Lint-free cloths: Paper towels aren't sufficient. Go lint-free.
- Straightedge or level: For aligning pads and marking cuts.
- Heat gun (optional): Helps pads conform to curves or stick better in cold weather.
- 3M Primer 94 (optional): Boosts adhesion in tricky areas like non-skid or textured gelcoat.
Checklist Tips:
- Always clean twice. Remember, residue kills good adhesion.
- Avoid using household cleaners or degreasers; they leave films.
- Let solvents fully evaporate before sticking anything down.
- If you're unsure whether to use Primer 94, test adhesion in a small corner first.
- Don’t skip wiping the edges, as missed dirt here is a common reason for peeling corners.
Workspace Prep:
- Clear a 6–8 ft radius around where you’ll be working.
- Lay down cardboard or blankets to protect from dropped tools.
- Organise your tools within reach before you start.
Advanced SeaDek DIY Installation Tips
If you are the kind of person who wants every project to look like it came from the factory (and let's face it, who isn't), here are some bonus tools and habits worth adopting:
- Contour gauge: Lets you copy curved profiles from your deck and transfer them to foam.
- Digital caliper: Great for measuring pad thickness, alignment gaps, or tight clearances.
- Chalk line: For long straight runs (great on large swim decks).
- Painter’s pyramids or furniture risers: Prop pads off the deck while scoring backing.
- Work surface protection: Use a cardboard or a rubber mat to avoid accidental nicks in your deck.
- Headlamp or task lighting: Especially useful in covered docks or under hardtops.
Also, and this is something we can't repeat often enough: take your time. SeaDek installation is much less about speed and far more about precision. Most mistakes happen when people rush the peel-and-stick stage.
Step-by-Step: Using Your Toolkit
- Plan & Measure: Use vinyl film and a Sharpie to map each pad area. Label them using masking tape.
- Dry Fit: Place each pad on the deck with the backing still on. Make sure they align, especially if you have a pattern like faux teak.
- Surface Prep: Clean thoroughly using isopropyl alcohol or acetone and lint-free cloths.
- Score the Backing: Use the SeaDek cutting tool to slice the paper backing, but be careful not to cut the foam.
- Peel & Stick – Remove backing in stages, pressing firmly as you go.
- Trim Edges – Use your bevel tool for final edge work.
- Seal & Clean – Press all edges firmly and clean off any fingerprints with Boat Juice.
Read the full SeaDek DIY installation instructions here.
SeaDek Installation Mistakes & How the Right Tools Help
- Jagged cuts: Often caused by dull blades or poor control. Use a sharp cutting tool and guide each cut.
- Misaligned panels: Often from skipping layout lines. Always dry-fit and use masking tape centerlines.
- Lifting edges: From poor prep. Clean thoroughly and use Primer 94 on problem surfaces.
- Uneven bevels: Freehand trimming is risky. Stick to your bevel tool.
- Blown installs in cold weather: Use a heat gun to warm up the pads and surface before applying.
- Overlapping pads: Measure twice and pre-layout everything before sticking.
- Peeling too fast: Pulling the backing too quickly leads to crooked installs. Peel slowly and smoothly as you go.
Tool & Deck Maintenance
Once everything’s installed, don’t toss your tools into the corner of the garage just yet. Properly looking after them will save you time the next time you tackle a project, and it also means you won’t be hunting for missing blades or bent rulers when you need them most.
A little bit of organization and cleaning now makes every future installation smoother and far less stressful.
Tool Care Tips:
- Store blades in a safe container, not loose in your toolkit.
- Wipe bevel tools and cutting blades with alcohol after use to remove adhesive buildup.
- Store flexible rulers flat—no kinks or bends.
- Use plastic sheaths or cases to prevent moisture and rust.
SeaDek Maintenance
Caring for your new flooring doesn’t end once it’s installed. Just like your tools, SeaDek itself benefits from a bit of regular attention to keep it looking sharp and performing well on the water. A consistent routine prevents stains, keeps the surface grippy, and extends the lifespan of the foam.
To keep your SeaDek in top condition, rinse the deck after salty or muddy outings to prevent buildup and give it a deeper clean about once a month with a product like SeaDek Boat Juice, which is designed specifically for EVA foam.
|
Pro Tip: If you ever notice an edge starting to lift, simply clean the area thoroughly and reapply it with marine-grade superglue to restore a solid bond. |
Always avoid harsh chemicals such as bleach or abrasive cleaners, as they can damage the surface and shorten its lifespan.
Bottom Line
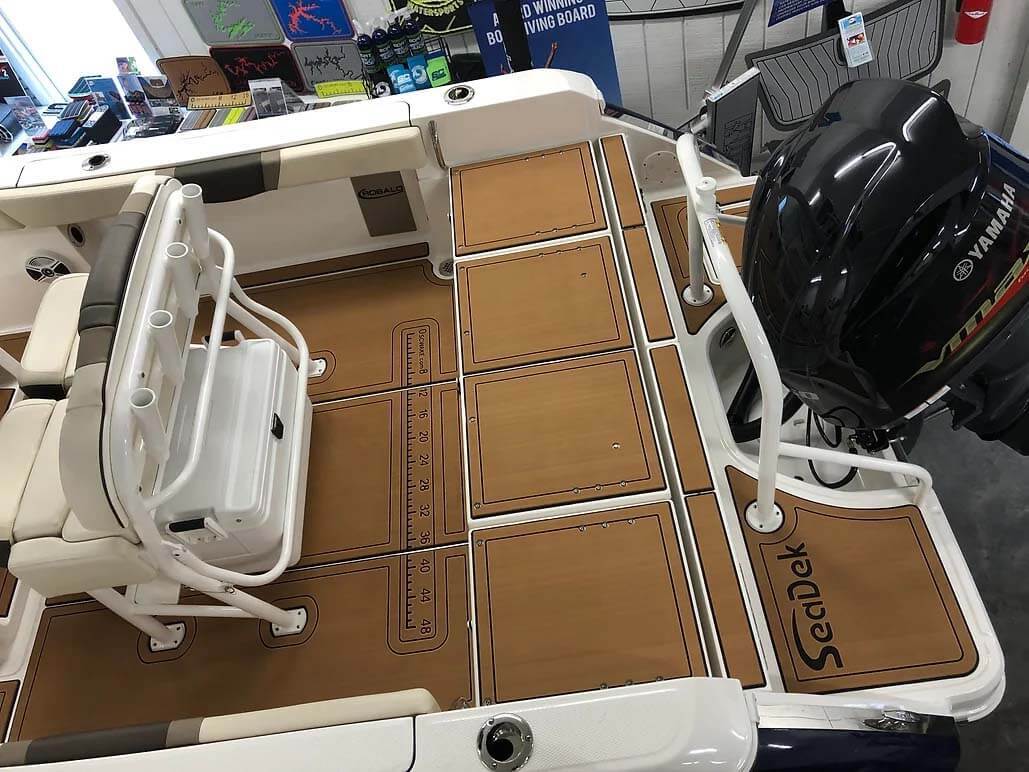
DIY SeaDek installation isn’t just possible for people with rudimentary DIY skills; it's entirely simple with the right preparation and tools. When installing SeaDek, cutting tools, measuring tape, and bevel tools are essential to a good installation. Using them will get the job done cleanly and confidently.
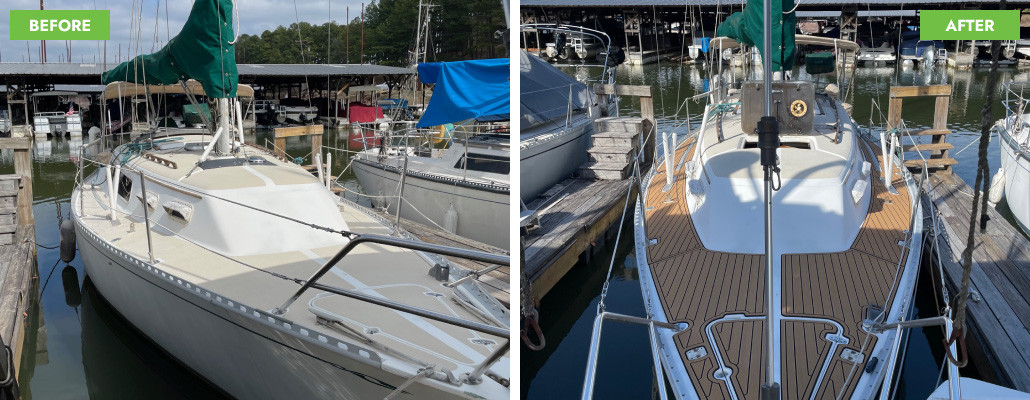
If you follow the guide, measure carefully, and take your time, while remaining patient, diligent, and careful, your results will look just as good as a pro install.
It shouldn't take too long, either. In fact, many of our customers report completing their installation in just a few hours and enjoying the process more than expected!
And remember, if things get tricky or you don't have the time to spare, our certified SeaDek installers are only a click away!