
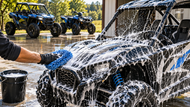
How to Wash a UTV, Side-by-Side or ATV Without Damaging Plastics or Decals
posted by Erica Fisk on Nov 12th 2026
|
TLDR: To wash a UTV, ATV, or side-by-side safely, remove loose dirt first, rinse gently, apply a suitable vehicle cleaner, wash from top to bottom, and rinse thoroughly. Dry the machine before applying compatible protective products. Avoid directing high-pressure water at decals, seals, bearings, and electrical components. Always check cleaner compatibility with the surfaces on your vehicle. |
After a long day on the trails, your UTV comes home wearing a crust of dried mud and desert dust. Cleaning it off is rarely the part of the ride you look forward to, but dirt left to set makes the next wash harder and hides the wear you want to catch early.
A proper UTV wash is more than blasting the body panels until the mud lets go. Different surfaces ask for different levels of care, and that is most true when your machine carries decorative decals, textured plastics, vinyl seats, and accessories.
But despite common belief, you do not need an elaborate detailing setup to clean an off-road vehicle. With the right supplies and a sensible washing sequence, you can lift trail grime without putting delicate components in the firing line.
Key Takeaways
- Remove loose dirt and heavy mud before touching the body panels with a wash mitt or sponge.
- Wash in a shaded area when possible to reduce premature drying, water spots, and streaks.
- Use cleaners suitable for the specific materials and finishes on your vehicle.
- Keep high-pressure water away from decals, electrical connections, seals, and bearings.
- Dry the machine thoroughly before applying compatible finishing or protective products.
- Clean seats, cab plastics, and removable floor mats separately from heavily soiled exterior surfaces.
What You Need Before You Start
A good ATV wash starts with your supplies laid out and ready. Having everything within reach lets you work through the machine methodically instead of chasing soap that dries while you hunt for a towel.
Begin with a garden hose fitted with an adjustable spray nozzle, a bucket, clean microfiber towels, and a soft wash mitt. A soft detailing brush earns its place in tight spaces, while a separate brush or cleaning tool handles heavily soiled areas well away from delicate finishes.
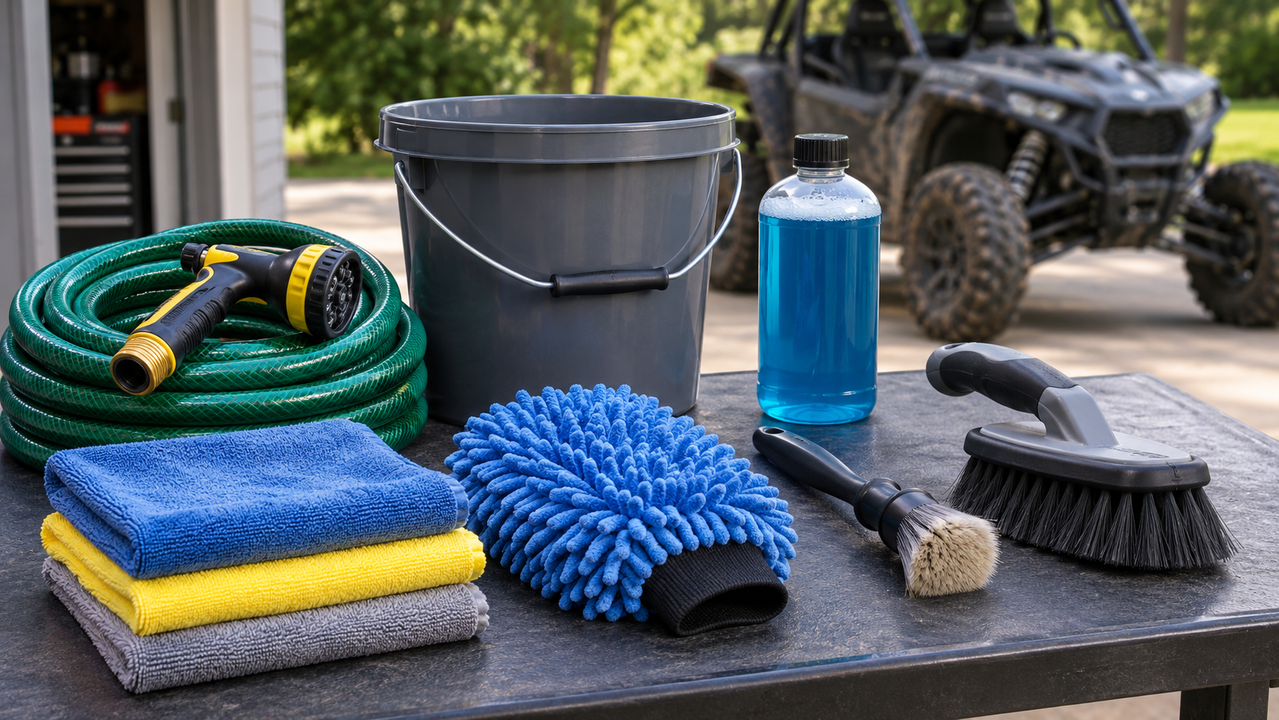
You will also need a vehicle wash cleaner suited to the surfaces you are cleaning. A product such as SC Wake's Boat & Car Wash Cleaner is worth a look, subject to its label directions and confirmation that it suits your vehicle's materials.
Do not assume every automotive cleaner is safe on an off-road machine. A UTV can mix painted surfaces, unpainted plastics, powder-coated components, decals, and other materials, each of which reacts differently to cleaning chemicals.
Choose the Right Washing Location
Park your machine on stable ground with decent drainage, ideally out of direct sun. Give the engine, exhaust, and other hot components time to cool before you start.
Washing in direct sunlight lets water and cleaning solution evaporate before you can rinse them away. That is how you end up with streaking, water spots, and dried cleaning residue.
A shaded spot buys you time to work through each section without rushing. It also makes it easier to see the areas that still need another pass.
Washing Top to Bottom After Mud and Dust
The order you wash in makes a real difference. Attack the dirtiest sections first and start scrubbing, and you drag abrasive grit straight across your body panels.
Work through the sequence below instead, so you loosen debris, clean the surfaces you can reach, and keep needless contact with dirt to a minimum.
Step 1: Remove Loose Dirt and Heavy Mud
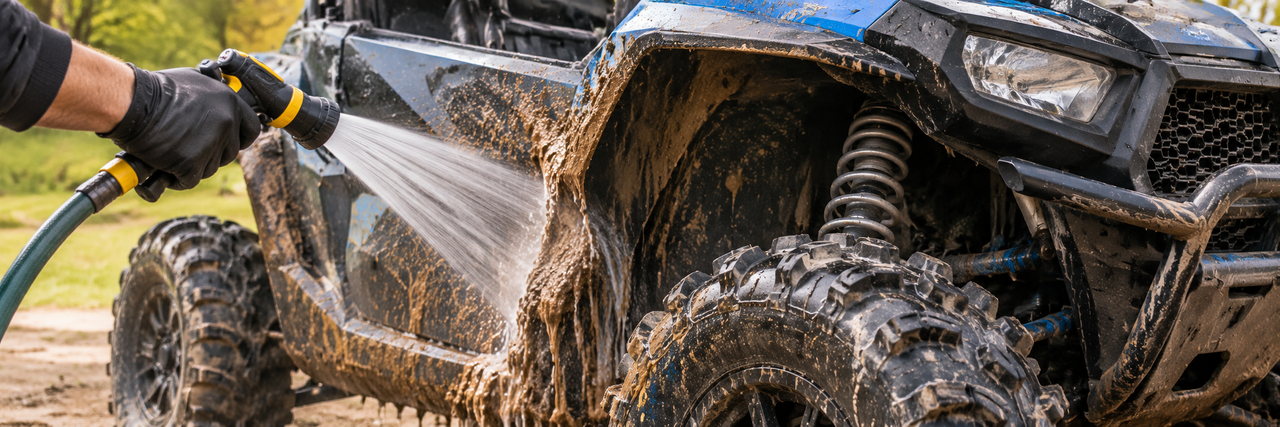
Start by looking the machine over for thick mud deposits, dried dirt, and loose debris. Clear the large build-ups carefully, without scraping the surfaces underneath.
A gentle stream of water helps soften dried mud and float away loose particles. Give stubborn deposits time to release rather than forcing them off with hard scrubbing.
Pay close attention to the places mud likes to gather: wheel wells, lower body panels, and suspension components. Clear what you can reach without driving pressurized water into sensitive mechanical assemblies.
Step 2: Rinse the Machine Gently
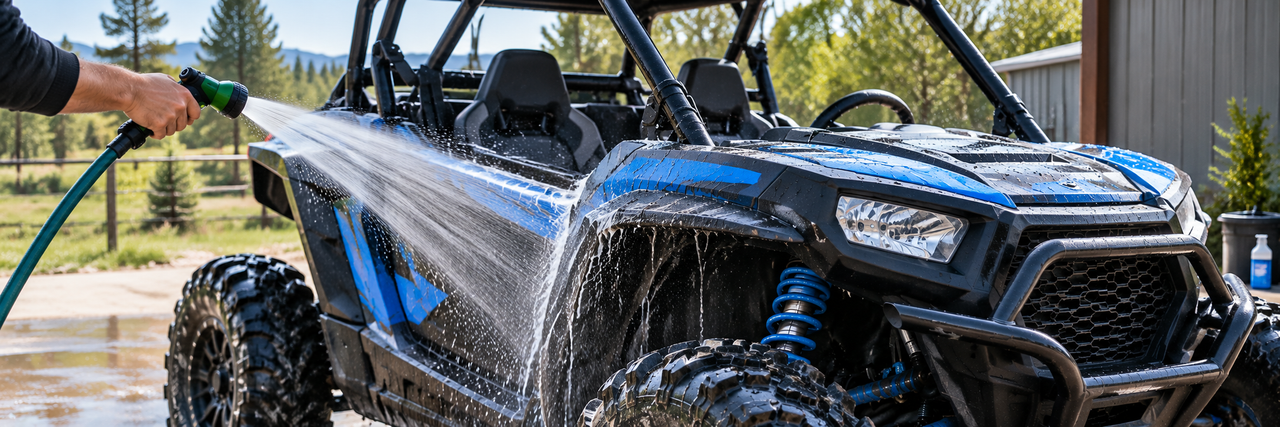
With the heaviest deposits gone, rinse the vehicle from the upper body panels down. Use a gentle, controlled stream rather than a concentrated jet. That carries loosened dirt away from the surfaces you are about to wash.
Pressure washers have their place in certain cleaning jobs, but they call for particular care around an off-road vehicle. A concentrated spray aimed at bearings, seals, electrical connectors, or the edges of decals can force water in or damage vulnerable materials.
If you do bring out a pressure washer, follow the manufacturer's guidance on permitted pressure, nozzle type, and distance. Where those instructions are not available, a garden hose is the safer choice around sensitive areas.
Step 3: Apply Your ATV or UTV Cleaner
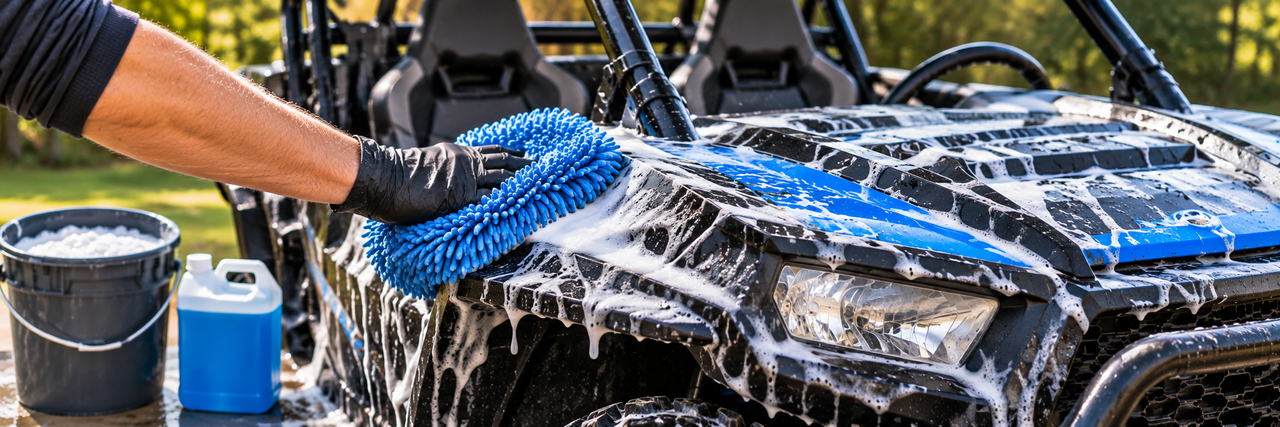
After the first rinse, mix your chosen cleaning solution to its instructions. Resist the urge to go stronger than the manufacturer recommends.
Work the cleaner over manageable sections, starting with the upper body panels. Use a clean, soft wash mitt to lift the remaining grime without leaning on it.
Rinse your mitt often to clear trapped grit. If the wash water turns heavily contaminated, change it before you carry on.
A dedicated ATV or UTV cleaner should be chosen on its stated uses and material compatibility, not on its name alone. Confirm it suits decals, matte plastics, clear-coated surfaces, or powder-coated components before you apply it to any of them.
Step 4: Work Down the Body Panels
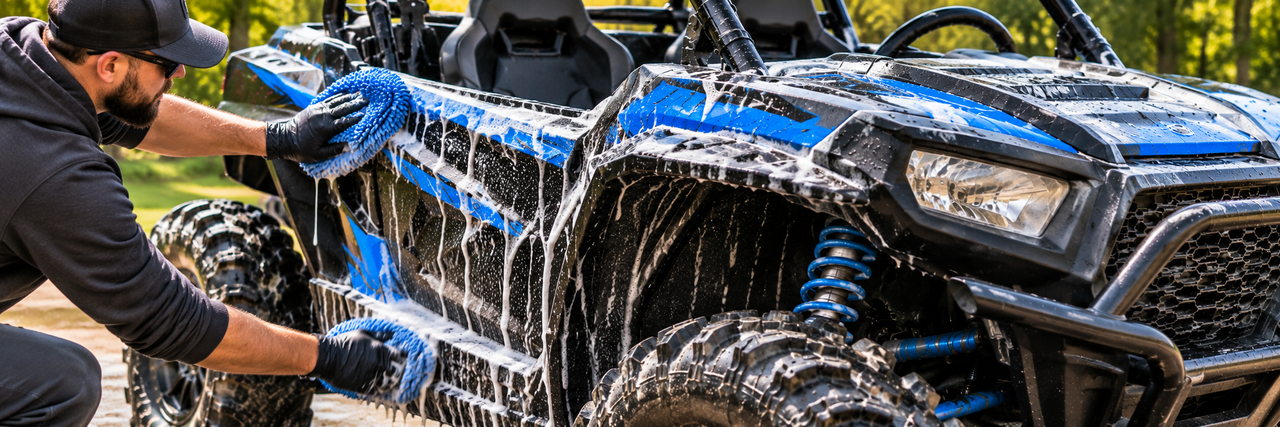
Keep washing from the roof and upper panels down toward the lower sections.
This order stops dirty water from running back over areas you have already cleaned. It also keeps heavily contaminated lower surfaces from passing grit up to cleaner bodywork.
Use gentle movements around plastic trim, fender edges, and decorative graphics. Keep abrasive pads and stiff brushes off surfaces that scratch easily.
For tight spaces around suspension arms and reachable underbody areas, use a suitable cleaning tool rather than forcing a large wash mitt into narrow gaps. Keep water away from vulnerable components, as set out in the owner's manual.
Step 5: Rinse Away All Cleaning Residue
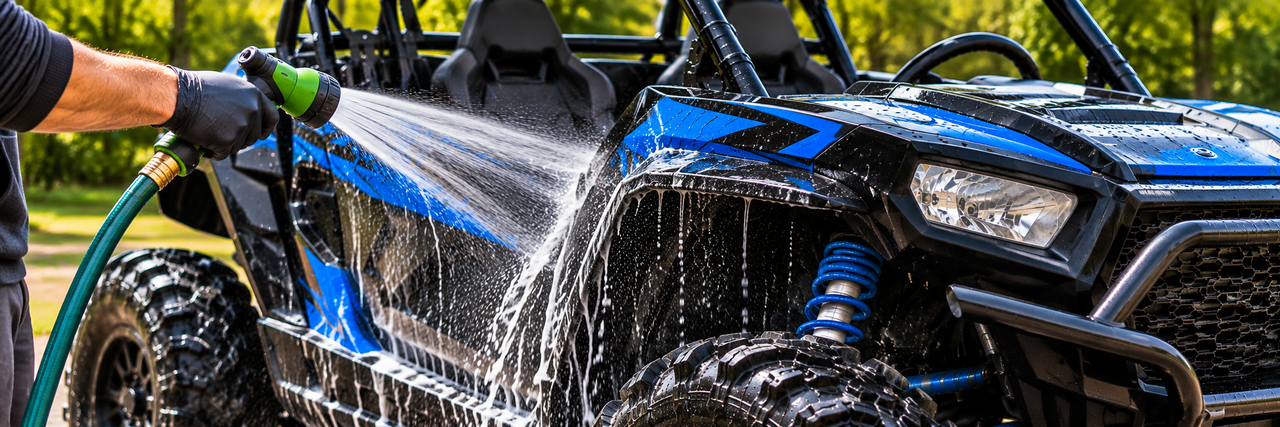
Once the vehicle is washed, rinse each section thoroughly with clean water. Pay attention to panel joints, recessed areas, and the pockets where the cleaning solution likes to settle. Residual soap can dry into visible streaks or leave deposits behind.
Check the machine from several angles before you move to drying. If you spot dirt you missed, clean that area again with fresh water and the right tool rather than rubbing a dry surface.
Drying, Waxing, and Protecting Plastics
Washing lifts the dirt, but drying and finishing are what complete the job. Water left to sit can spot the machine, especially where it carries dissolved minerals.
Use clean microfiber towels to lift moisture from the body panels, trim, and reachable exterior surfaces. Work gently around decals and textured plastics so you do not snag or lift an edge.
Pay attention to recessed areas where water collects. Let the machine drain and air-dry as appropriate, following the manufacturer's recommendations before you run or store it.
Should You Wax a UTV?
Whether you should wax comes down to the surface. Some painted or clear-coated panels take a suitable automotive wax well, while matte, textured, or unpainted plastics often need different care. A product that brings up a handsome shine on one finish can leave residue or change the look of another.
Always check the vehicle manufacturer's care instructions and the protective product's label before you apply anything. Test a compatible product in an out-of-sight area when the label recommends it.
Using a Finishing Spray
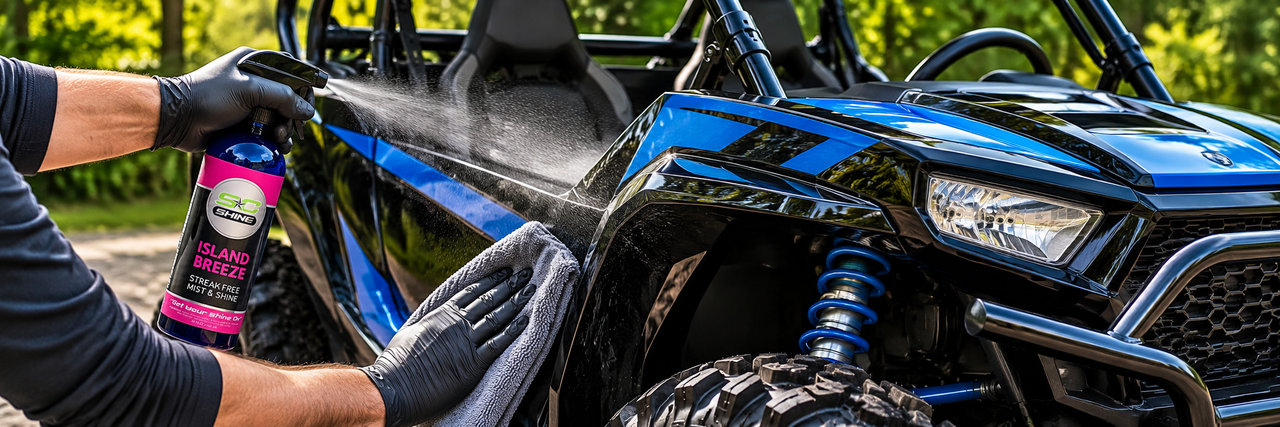
A finishing spray can round off the detailing process when its intended surfaces match the materials on your machine.
For example, Island Breeze Streak-Free Mist & Shine is an SC Wake product that is definitely worth using for a suitable finishing application. Confirm its compatibility with UTV decals, powder coating, matte plastics, and other specialized finishes before you count on it for those surfaces.
Apply finishing products only as directed, using clean applicators and steering clear of areas where a slippery residue could become a safety concern.
Seats, Vinyl, Decals, and Hard-to-Reach Spots
The exterior panels are only half the cleaning job. Dust, mud, and moisture also gather around the seating area, dashboard, cargo bed, and other reachable parts of the machine.
These areas often hold materials that want a gentler approach than the heavily soiled lower bodywork.
Cleaning Vinyl Seats
Start by lifting loose dirt and debris from the seats with a soft cloth or a suitable cleaning tool. Use a cleaner approved for the seat material and follow the product instructions. Avoid saturating seams or letting cleaning solution pool in stitching and recessed areas. Once clean, wipe away the residue and let the seats dry properly.
SC Wake's Fresh Vinyl Cleaner, Protectant & Conditioning Shine is great for compatible vinyl surfaces. Confirm the seat manufacturer's care requirements and the product's intended uses before you apply it.
Do not use products that leave a slippery finish on seats, grips, pedals, or other contact surfaces where traction counts.
Cleaning Dashboard and Cab Plastics
Dust gathers around switches, storage compartments, and dashboard edges. Clear the loose particles with a clean microfiber cloth before you introduce any moisture.
For more stubborn grime, lightly dampen a cloth with an approved cleaner rather than spraying liquid straight into switches, instrument clusters, or electrical openings.
Dashboard finishes vary, and so do their cleaning requirements. Follow the manufacturer's guidance, particularly for screens, textured plastics, and coated surfaces.
Protecting Decals and Graphics
Decorative decals are among the first things to suffer from careless washing.
Keep concentrated water off their edges, and leave the aggressive scrubbing tools out of reach of printed graphics. Harsh chemicals or incompatible solvents can also attack adhesives and finishes.
Wash decal-covered panels gently with an approved cleaner and a soft mitt. Rinse thoroughly, then dry with light pressure.
If a decal is already lifting, keep water from running beneath its edge. Washing cannot repair failed adhesive, and too much force only makes the damage worse.
Cleaning the Cargo Bed and Recessed Areas
A UTV's cargo bed collects sand, leaves, mud, and other debris over the course of a ride.
Clear the loose material before you rinse. Clean the surfaces you can reach with a product suited to the bed's material, then let water drain through the points designed for it.
Check corners, seams, and the other recesses where debris hides after the main wash. Avoid taking components apart or introducing water into enclosed areas unless the vehicle manufacturer tells you how.
A final once-over helps you catch overlooked grime before it dries back on.
Floor Mats and Liners: The Short Version
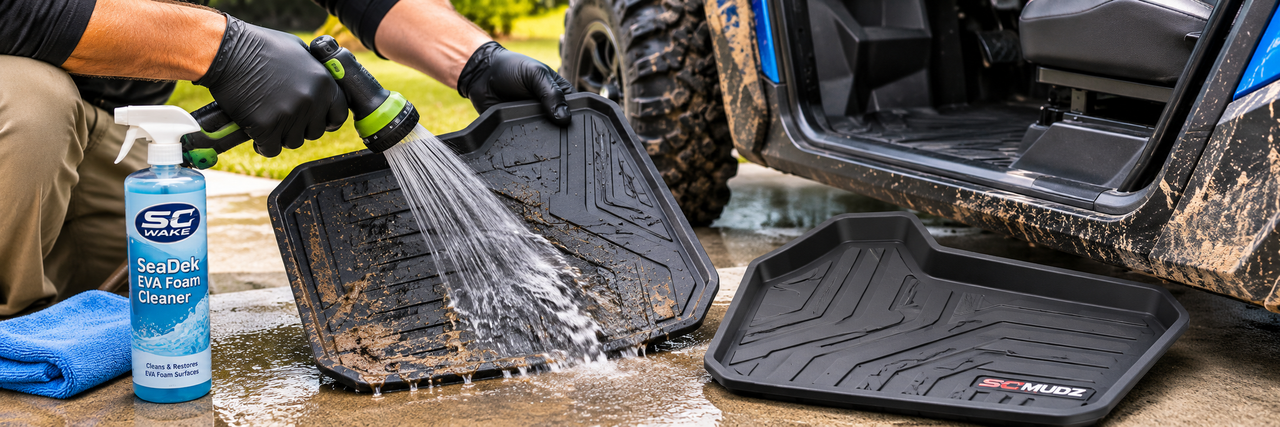
Removable floor mats deserve attention after a muddy ride, but they do not need to complicate the main vehicle wash.
If your UTV has removable mats or liners, take them out according to the manufacturer's instructions and rinse away the loose debris. For compatible SeaDek EVA foam surfaces, turn to SC Wake's SeaDek EVA Foam Cleaner and follow its directions where grime remains.
Let the mats and vehicle floor dry properly before you put them back.
If you are looking at replacement or additional floor protection, browse SC Wake's UTV Floor Mats and SC Mudz side-by-side products.
Keep Your UTV Ready for the Next Ride
A thorough UTV wash does not have to be complicated. Loosen the heavy dirt first, work top to bottom, rinse carefully, and finish by drying and inspecting the machine.
The habit that counts most is matching your cleaning methods and products to the materials in front of you. A little care around decals, plastics, seats, and sensitive components keeps you clear of damage from needless pressure or the wrong chemicals.
If you are building a regular cleaning kit, explore SC Wake's Deep Clean Bundle, Full Detail Bundle, and Exterior Essentials Bundle to compare what each one holds and what it is for.
A little attention after each ride makes the next cleanup easier and keeps your off-road machine looking its best.
Frequently Asked Questions About ATV and UTV Washing
What Is the Best ATV Cleaner?
The best ATV cleaner is the one approved for the specific materials and finishes on your vehicle. Look for clear product instructions, suitable cleaning uses, and compatibility with the surfaces you intend to wash. No single cleaner should be assumed safe on every plastic, coating, or decal.
Can You Pressure Wash a UTV?
You can use a pressure washer where the vehicle manufacturer permits it, but concentrated water can damage sensitive areas. Keep the spray off seals, bearings, electrical connections, and decal edges. Follow the manufacturer's pressure and distance guidance, or fall back to a gentle garden hose when you are unsure.
How Often Should You Wash a Side-by-Side?
Wash your side-by-side as the riding conditions demand. Heavy mud, caked dust, and anything potentially corrosive are reasons to clean soon after a ride. Regular inspections and sensible cleaning keep debris from sitting unnoticed around reachable components.
Can You Use Regular Car Wash Soap on an ATV?
Some automotive wash products suit certain ATV surfaces, but compatibility varies. Check the cleaner's label and the vehicle manufacturer's instructions before you use it on textured plastics, graphics, painted panels, or specialty coatings.
How Do You Prevent Water Spots After a UTV Wash?
Wash in the shade, rinse thoroughly, and dry reachable surfaces with clean microfiber towels before the water evaporates. Keep the cleaning solution from drying on the vehicle. Where it suits the surface, use a finishing product approved for the job.