
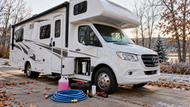
RV Winterization and Storage Checklist: Clean, Protect and Cover Before the First Freeze
posted by Erica Fisk on Nov 2nd 2026
|
Quick Answer: To winterize an RV, prepare its plumbing for freezing temperatures, maintain the battery, remove food and moisture, and inspect the roof and seals. Before storage, thoroughly wash and protect the exterior, clean vinyl surfaces, and check the step treads. Finish by covering the RV appropriately and scheduling occasional winter inspections to catch leaks, pests, or weather damage. |
When camping season ends, it's tempting to park your RV, lock the door, and forget about it until spring. Unfortunately, a few months of freezing temperatures, trapped moisture, and accumulated grime can turn a perfectly good camper into an expensive repair project.
Proper RV winterization involves more than draining the water system. Exterior dirt can remain against painted surfaces, neglected vinyl may deteriorate, and muddy entry steps can become harder to maintain after months in storage. Addressing these problems before winter helps protect your investment and makes reopening your RV much easier.
Whether you're learning how to winterize a camper for the first time or preparing your fifth wheel for another cold season, this checklist covers the essential steps. We'll focus particularly on cleaning, surface protection, and the often-overlooked entry area.
Key Takeaways
- Complete winter preparations before the first hard freeze, allowing time for cleaning and repairs.
- Follow your RV manufacturer's instructions for plumbing, batteries, and appliances.
- Wash and thoroughly dry exterior surfaces before covering or storing the vehicle.
- Clean and protect compatible vinyl surfaces, and inspect RV step covers for dirt, damage, or loose edges.
- Check your stored RV periodically for moisture, pests, cover damage, and other developing problems.
Before the First Freeze
The best time to prepare your RV for winter is before overnight temperatures consistently approach freezing. Waiting until the first snowstorm leaves little opportunity to address plumbing issues, damaged seals, or surfaces that need cleaning.
Start by choosing a dry weekend and reviewing your owner's manual. Motorhomes, fifth wheels, and travel trailers have different systems, so a general checklist should complement rather than replace the manufacturer's requirements.
Inspect the Roof, Seals, and Exterior
Walk around the RV and look for cracks, gaps, or deteriorating sealant around windows, roof vents, doors, and exterior fixtures. Pay particular attention to areas where water could enter and freeze.
Inspect the roof using safe access methods recommended by the manufacturer. If you notice damaged seals or suspicious staining, arrange repairs before storage. Covering an existing leak won't solve the underlying problem.
Check awnings for trapped debris and moisture. Clean and dry them completely before retracting them for the season.
Choose a Suitable Storage Location
Indoor storage offers protection from direct weather exposure, but many owners rely on outdoor parking. Choose a reasonably level, well-drained surface that won't allow standing water to collect around the tires.
Follow the manufacturer's guidance for tire pressure, parking brakes, stabilizers, and wheel chocks. Avoid leaving the RV beneath branches that could fall during storms.
If you're planning extended RV winter storage, consider how you'll access the vehicle for inspections. Even a well-prepared camper benefits from occasional checks throughout winter.
Plan Your Shutdown Weekend
Gather the owner's manual, cleaning supplies, appropriate protective products, and any equipment required for your particular RV systems.
Allow enough time for washed surfaces and upholstery to dry before closing everything up. Rushing this stage can leave moisture trapped inside compartments or beneath protective covers.
Shutdown Weekend: Plumbing, Batteries and Interior
Protecting the water system is one of the most important tasks when winterizing your RV. Water left inside plumbing components can expand when frozen, potentially damaging pipes, fittings, valves, and appliances.
However, the exact procedure depends on the RV's design and installed equipment.
Protect the Plumbing System
Begin by consulting the manufacturer's winterization instructions. Most procedures involve draining freshwater and wastewater systems, emptying the water heater according to its instructions, and protecting plumbing components against freezing.
Depending on the RV, the recommended method may involve compressed air, RV-specific antifreeze, or a combination of approaches.
Never use automotive antifreeze in a potable water system. Water heaters, filtration systems, ice makers, and other appliances may also require special treatment.
If you're unfamiliar with the plumbing layout, professional winterization is a sensible option. Incorrect procedures can leave water trapped in expensive components.
Maintain Batteries and Electrical Systems
Battery care depends on the type of battery installed, the manufacturer's requirements, and whether the RV will remain connected to shore power.
Inspect terminals for corrosion and follow the recommended storage, charging, and disconnect procedures. Some batteries can be maintained with compatible charging equipment, while others require different treatment.
Lithium batteries deserve particular attention because charging restrictions may apply at low temperatures.
Switch off unnecessary electrical loads and check that alarms, monitoring equipment, and any systems intended to remain operational are configured correctly.
Clean and Secure the Interior
Remove perishable food, toiletries that could freeze, and anything likely to attract pests. Empty the refrigerator, clean its interior, and follow the manufacturer's storage instructions for leaving its doors ventilated.
Vacuum floors, wipe counters, and inspect cupboards for crumbs or moisture. Dry the bathroom and kitchen areas thoroughly, including around sinks and shower fittings.
Pay attention to bedding, curtains, and upholstered seating. Storing damp fabrics can encourage unpleasant odors and mildew.
Finally, check that windows, roof vents, and exterior access panels are secured appropriately for the storage conditions.
Clean and Protect the Exterior, Vinyl and Steps
Mechanical winterization protects essential systems, but exterior care helps preserve the surfaces you'll see and use when camping season returns.
Road grime, insects, bird droppings, and environmental residue shouldn't be left sitting on the RV throughout winter. Cleaning also provides an opportunity to discover scratches, damaged trim, or worn step surfaces.
Wash the Exterior Before Storage
Begin by rinsing loose dirt from the roof and exterior panels, working from the top downward. Use a suitable vehicle wash product, soft cleaning tools, and the manufacturer's recommended cleaning method.
Give extra attention to wheel arches, lower panels, and areas where road residue collects. Rinse thoroughly and allow the RV to dry before applying compatible surface protection.
For the complete process, refer to SC Wake's RV wash and wax guide.
If you're refreshing your cleaning supplies, the Exterior Essentials Bundle pairs Island Breeze mist and shine, Cotton Candy car wash and boat soap, and Tropical Vibes water spot remover. The Deep Clean Bundle combines Fresh Dek EVA foam cleaner, Fresh Vinyl, and Tropical Vibes. SC Wake sells both for boats, cars, and side-by-sides, so check each label against your RV's finish before use.
Protect Vinyl and Other Compatible Surfaces
Vinyl upholstery, trim, and seating surfaces can suffer from accumulated dirt, drying, and prolonged environmental exposure. Cleaning them before storage helps prevent existing grime from remaining against the material for months.
Start by removing surface dust and debris, then clean according to the material manufacturer's instructions. Allow everything to dry before applying a compatible protectant.
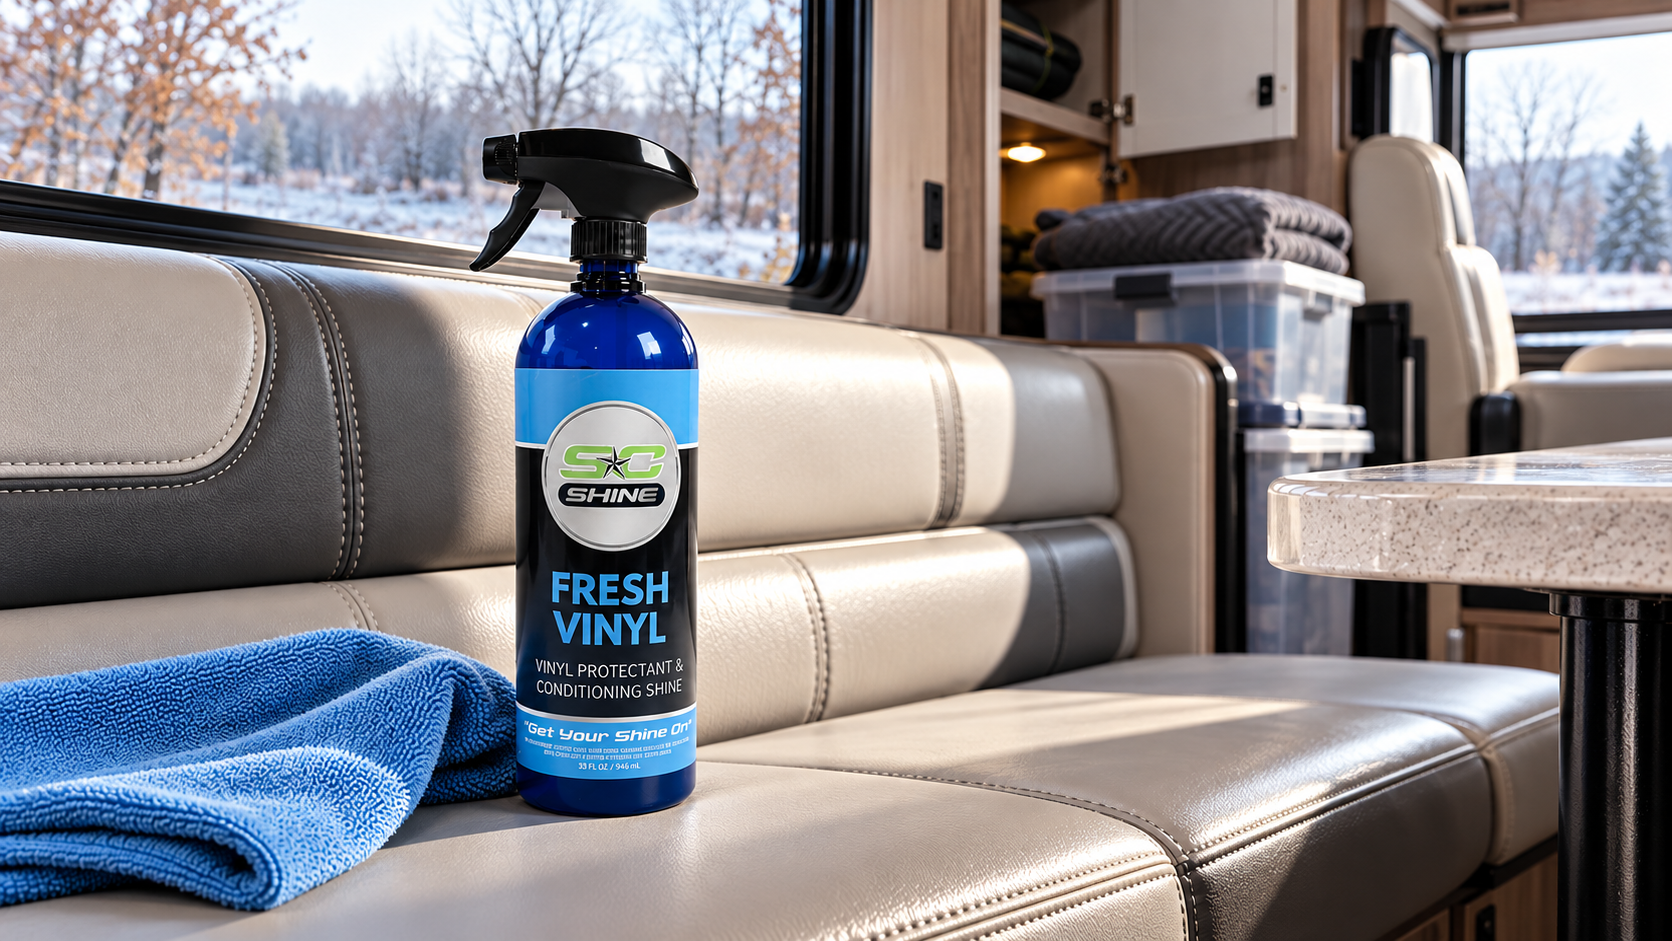
SC Wake's Fresh Vinyl Cleaner, Protectant & Conditioning Shine is designed to condition and protect suitable vinyl and other compatible surfaces. Follow its application directions and test an inconspicuous area first.
Don't apply conditioning products indiscriminately to floors, pedals, or other surfaces where additional slipperiness could create a hazard.
Clean and Inspect RV Step Covers
Entry steps often collect mud, sand, leaves, and road grime during camping trips. Leaving this buildup in place throughout winter can make spring cleaning more difficult.
Brush away loose debris and clean the step surfaces using a method compatible with their material. For SC Wake's SeaDek foam treads, use a cleaner made for EVA foam, such as Fresh Dek, and avoid harsh chemicals or abrasive scrubbing.
Inspect each tread for lifting edges, damaged sections, or excessive wear. Let the steps dry completely before retracting or covering them.
If replacement is necessary, explore SC Wake's RV step covers. To measure for the right tread, use the RV step covers size guide, and for fitting, follow the installation guide.
Addressing worn step covers before storage also gives you one less maintenance job when spring arrives.
Cover the RV Correctly
Once the exterior is clean and dry, consider a breathable RV cover designed for your vehicle's dimensions and storage conditions.
A properly fitted cover helps shield the RV from debris and weather exposure. However, a poorly secured cover can rub against exterior surfaces in strong winds.
Follow the cover manufacturer's fitting instructions, protect vulnerable corners where recommended, and secure straps without overtightening.
Never cover wet surfaces or block essential ventilation openings contrary to the RV manufacturer's instructions.
Mid-Winter Checks
Winter storage isn't necessarily a set-and-forget arrangement. Snow, wind, moisture, and temperature changes can create problems even after careful preparation.
Try to inspect the RV periodically, particularly following severe weather. Check that the cover remains secure and hasn't torn or shifted. Look around windows, roof edges, and access panels for signs of water intrusion.
Inspect the ground beneath the RV for pooling water, and watch for evidence of rodents or other pests. If safe and accessible, check the interior for unusual odors, condensation, or damp patches.
Battery maintenance should continue according to the manufacturer's recommended schedule. Avoid charging or operating systems outside their permitted temperature ranges.
Also examine the entry steps for trapped debris or standing water. If cleaning is necessary, use methods appropriate for freezing conditions and allow surfaces to dry where possible.
Owners who store boats alongside their RVs may find SC Wake's Winter Checklist for Boaters helpful for planning seasonal maintenance across both vehicles.
A brief inspection now can prevent a small issue from becoming a major spring repair.
Spring De-Winterizing
When temperatures rise, don't immediately load the camper and head for the campground. Set aside time to reverse the winterization process and confirm everything works correctly.
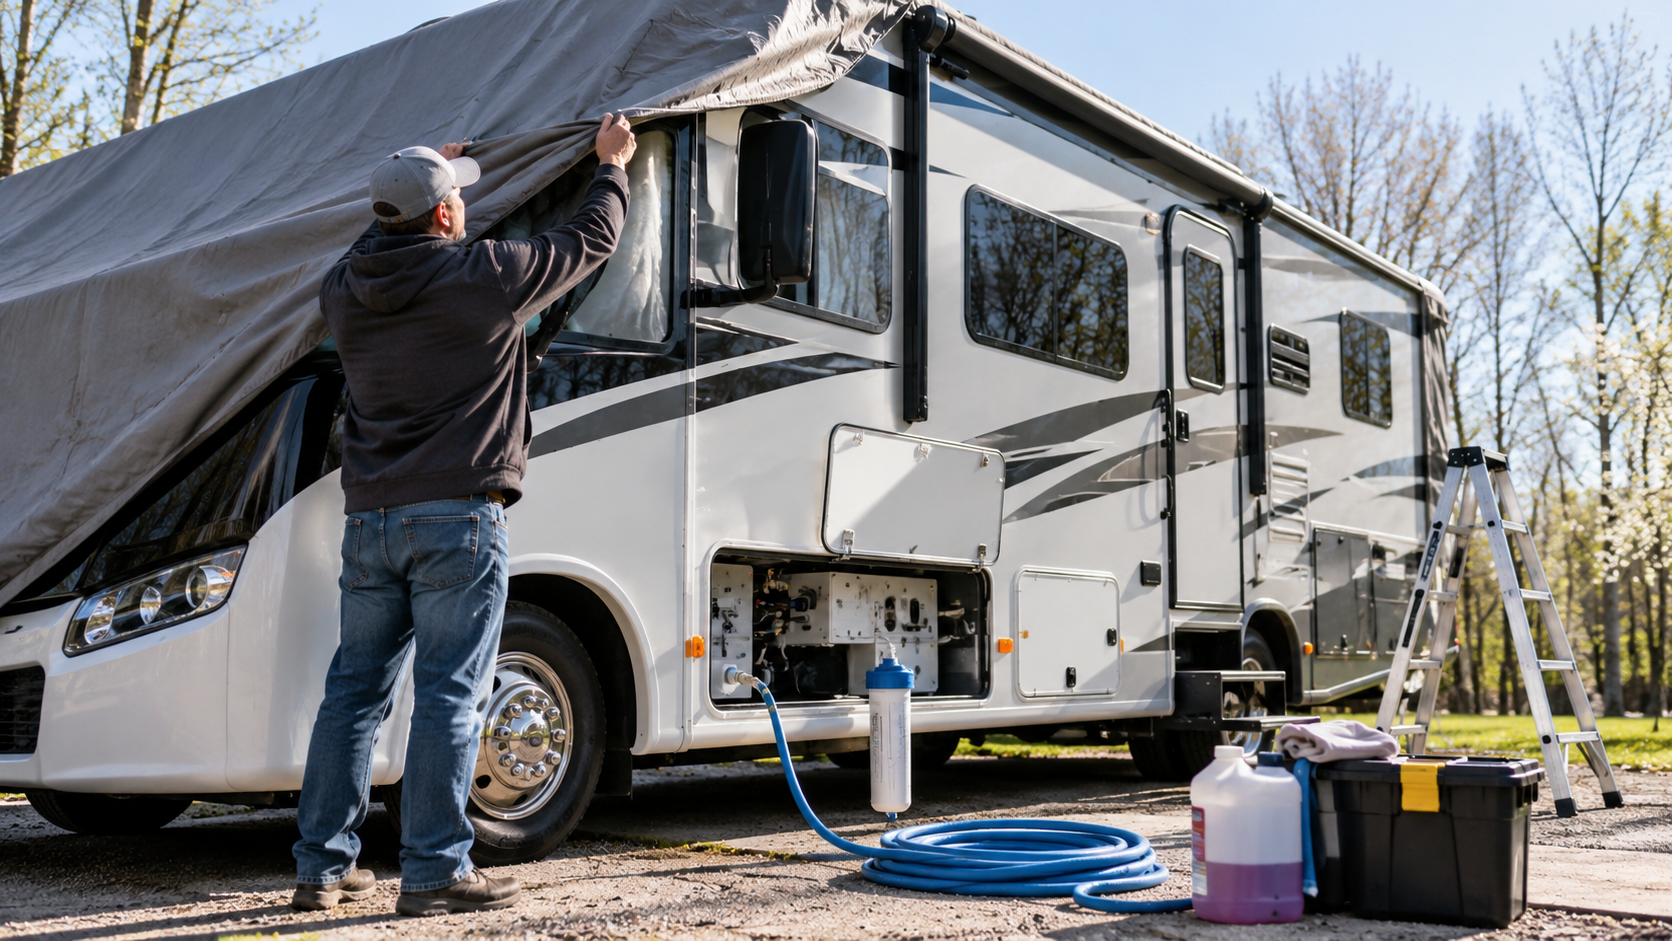
Remove the RV cover carefully, checking for trapped debris or areas where rubbing may have occurred. Inspect the roof, windows, seals, tires, and exterior fittings before moving the vehicle.
Follow the manufacturer's instructions for restoring the plumbing system, flushing approved winterizing products, sanitizing the freshwater system, and checking for leaks. Reconnect or service batteries as appropriate, then test appliances and electrical equipment.
Refresh the Exterior and Entry Area
Wash away winter dust and inspect protective finishes. Clean compatible vinyl surfaces and check whether additional conditioning is appropriate.
Examine the RV steps before regular use. Confirm that treads remain securely attached and free from damage, and that retractable steps operate smoothly.
Spring is also a good opportunity to tackle improvements you postponed before storage. Our article on Boat Upgrades to Make During Winter offers related ideas for owners preparing their recreational equipment for another season.
Finally, verify tire condition, lights, brakes, and other roadworthiness essentials before your first trip.
Frequently Asked Questions
When Should I Winterize My RV?
Complete winterization before temperatures drop below freezing. Your local climate, storage location, and RV construction affect the timing, so check forecasts and allow several days for preparation.
How Do You Winterize a Travel Trailer?
To winterize a travel trailer, follow its manufacturer's plumbing instructions, maintain the battery, clean and dry the interior, inspect seals, and protect exterior surfaces. Check the tires, steps, and storage location before leaving it parked.
Do I Need to Wash My RV Before Winter Storage?
Yes, washing is recommended. Removing dirt, road residue, and environmental contaminants before storage helps preserve exterior finishes and makes spring maintenance easier. Ensure surfaces dry completely before covering the RV.
Should I Cover My RV During Winter?
A suitable breathable cover can help protect an RV stored outdoors. Choose one designed for the vehicle, follow the fitting instructions, and inspect it periodically for shifting, rubbing, or damage.
Can I Leave My RV Outside All Winter?
Yes, provided it's properly winterized and stored in an appropriate location. Outdoor storage requires attention to drainage, weather exposure, tires, covers, and periodic inspections.
Protect Your RV Now for an Easier Spring
Learning how to winterize a camper means protecting more than its plumbing. A thorough shutdown should also address moisture, exterior grime, vinyl condition, and the entry steps you'll rely on next season.
Taking care of these details before the first freeze helps reduce preventable damage and makes returning to the road less stressful.
If your treads are cracked, lifting, or worn through, order replacement RV step covers now and clean the new ones with Fresh Dek before they go into storage. The Deep Clean Bundle and Exterior Essentials Bundle cover the washing and vinyl work in a single order.
Steps with an unusual shape can go through SC Wake's custom quote request.